Door Flip, Stain

Front door, looking colorful again.
Front door, looking colorful again.

With one side varnished and (slightly) protected, Liz flipped the doors to begin working on the other side.
There’s a bit of a timing concern. Ideally, the exterior gets 3 coats of varnish, for protection. But with each coat, it takes something like 8-16 hours to dry. So while there’s a single coat on the interior, that’s enough. And now the challenge is to try to get enough coats on the exterior, before all the flooring work begins.

Liz, showing how slick the doors are.

Big night for the door work. After several manual application attempts failed… Liz determined that the best way to apply her suspended dye/shellac mixture was to use a sprayer. So she headed out to Rockler in the suburbs, to pick up a unit.
In the meanwhile, I got the dining room ready to serve as a temporary spray booth. This meant covering up the walls with plastic, and making the whole area look like a serial killer’s playpen.
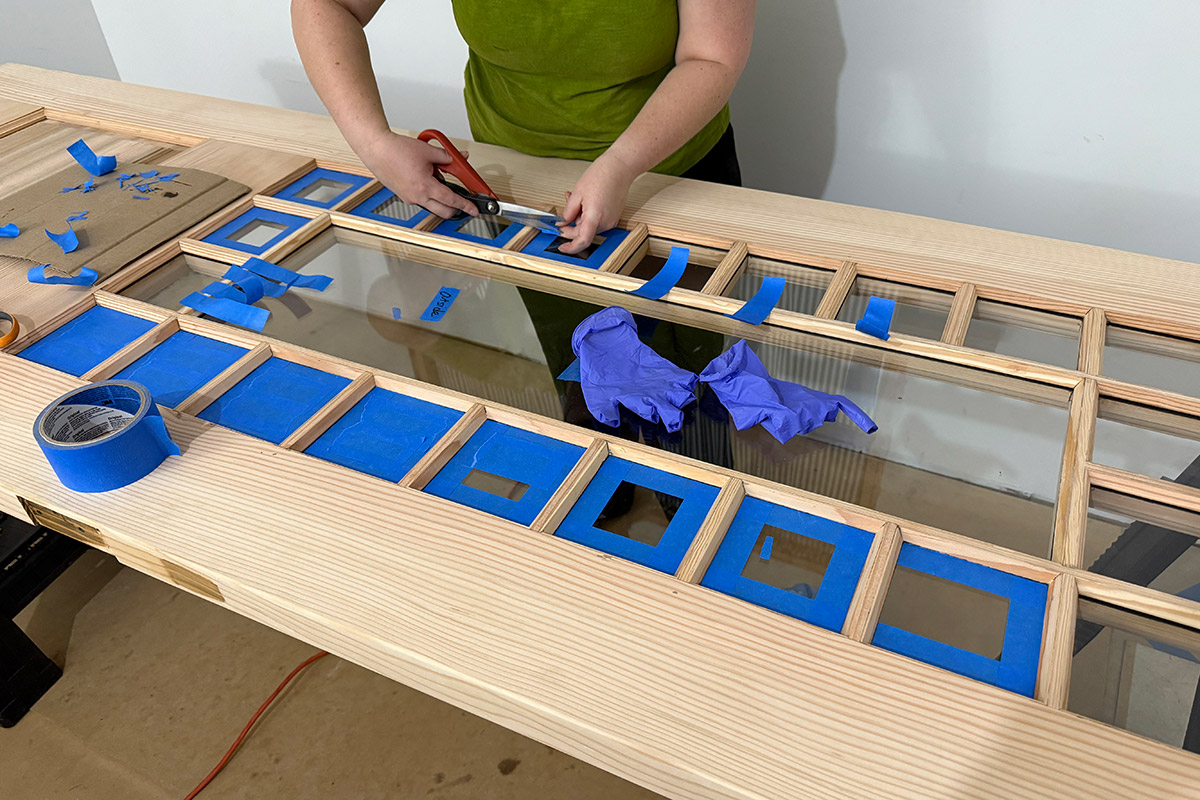
Prep work for the upstairs porch door: cutting painter’s tape, and protecting all the glass areas.

Most nights, we’ve been working up until 9PM, if not later. Factor in time to shower and a late dinner. And sometimes, we’re not able to spend time with the bunnies.
So the big news – we’re getting new flooring installed on the second floor. A big part of all the cleanup work we’ve started (with so much more to go)… is all about getting everything off the first and second floor.
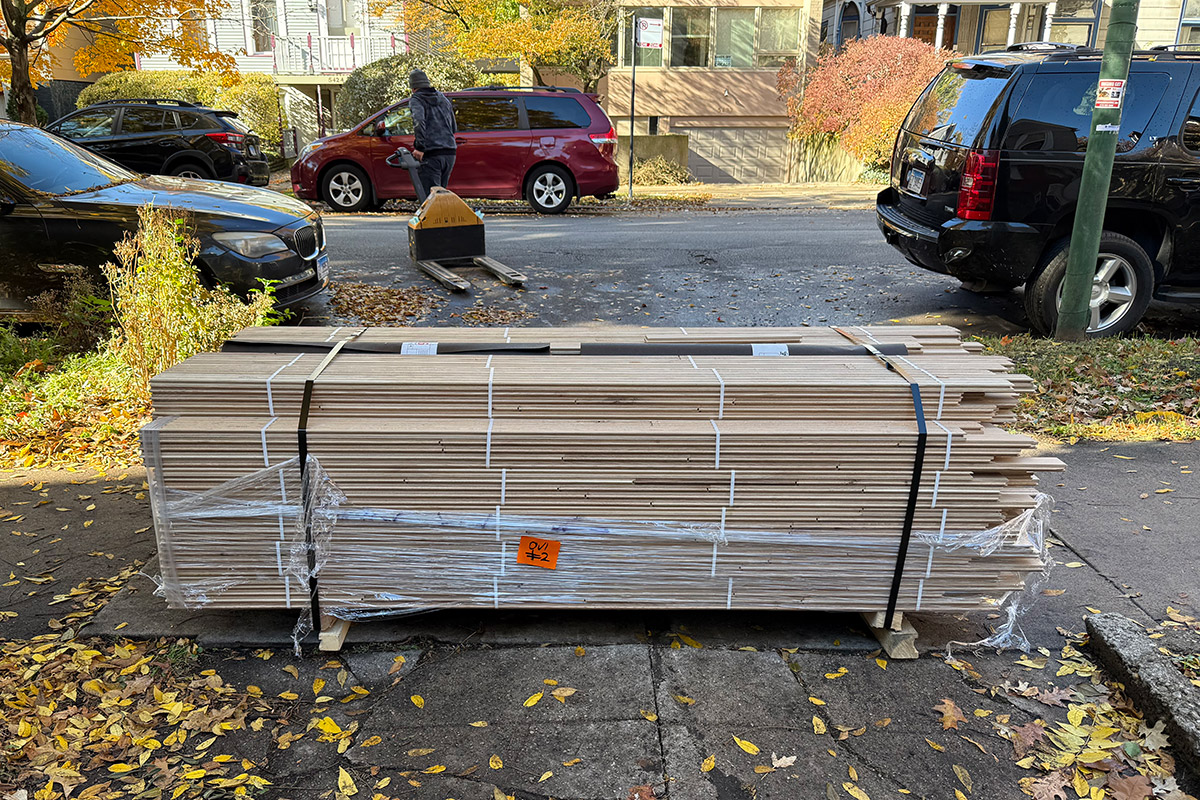
While we struggle with that task, today we received a shipment of flooring (which needs a bit of time inside, to acclimate before install).

I’ve posted about this lab table before, but decided to re-post it here (with some larger, higher-res images).
As we’ve been clearing out this room… we’re looking to sell this lab table. It’s ultimately not a desk that will work for what Liz wants (for her sewing station), and also not quite right for my computer setup.
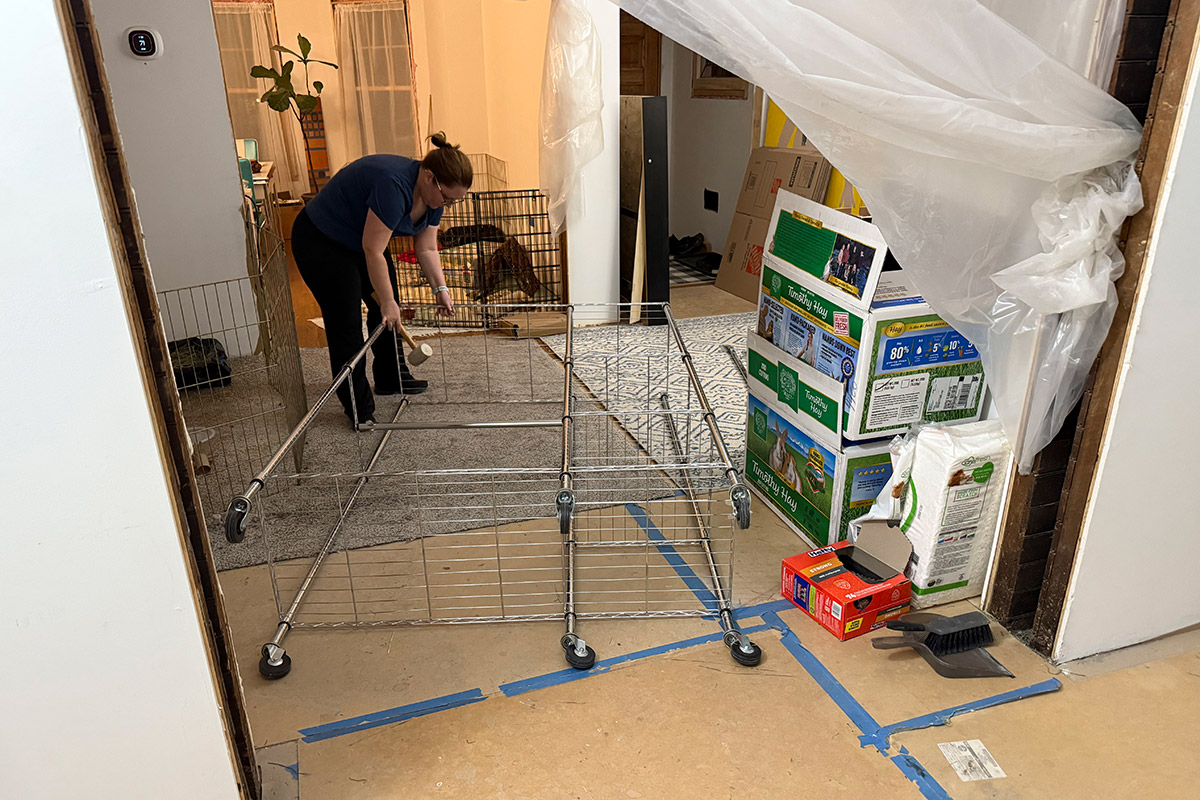
The coat rack, which needed to be moved and broken down, to make space for the lab table. We’ve got lots of stuff, and not a ton of space to work with.

I’ve been revisiting I am Robot and Proud lately. I got into this artist’s music a long while ago, and mostly fixated on the two albums I purchased. But never really dipped back in.
They’ve been producing music ever since, and I’ve enjoyed browsing around in Spotify, listening.
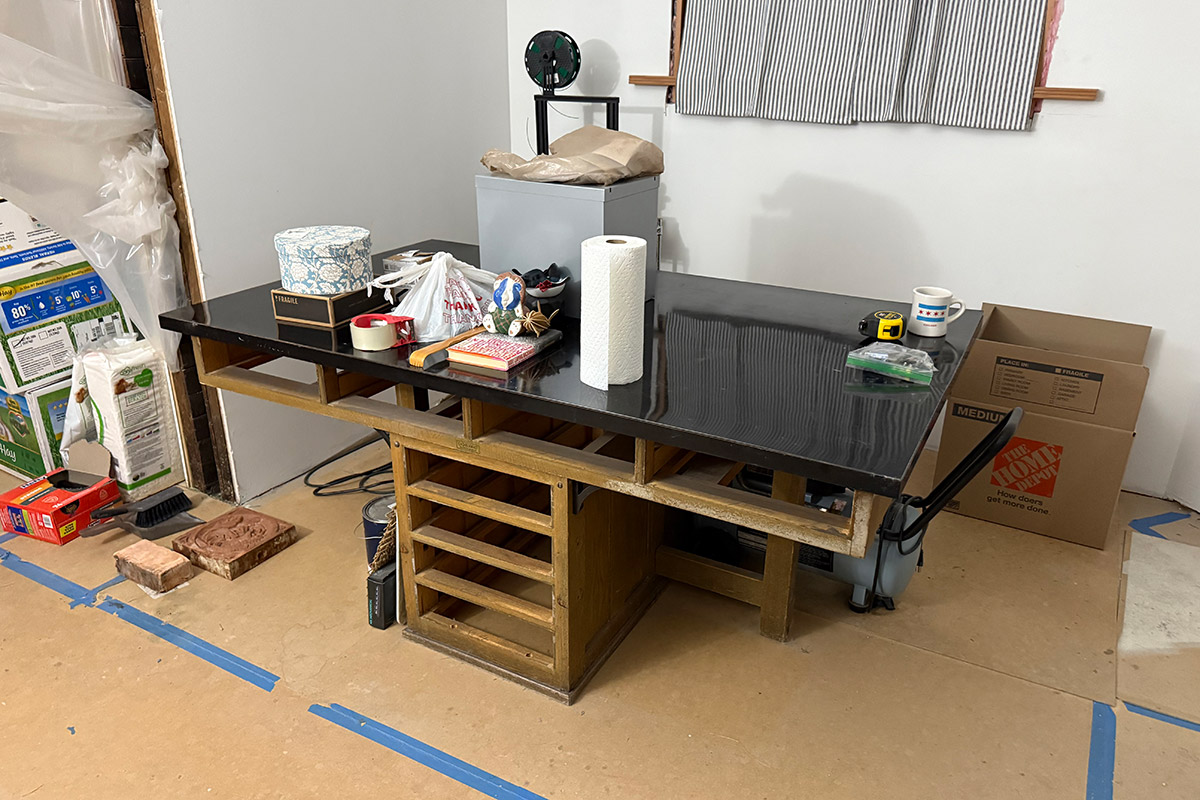
The desk is actually an old
1920’s E.H. Sheldon & Co. Science Table (with a crazy amount of drawers).

A few photos from 20×2 Chicago, where the prompt tonight was: What Do You Know?
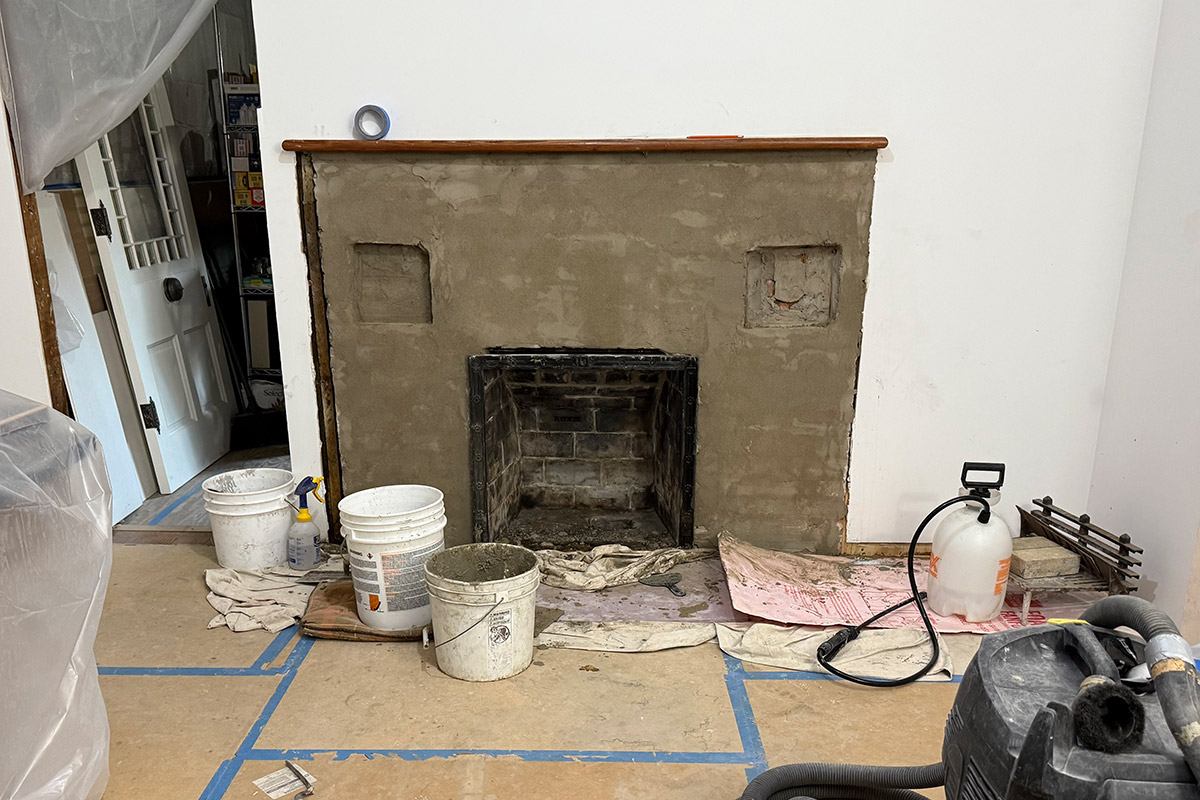
There was some discussion back and forth (between us, the masons, and our tile person) as to who should actually set the terra cotta squares. We landed on having the masons apply a skim coat of cement, and to keep the terra cotta squares free (so that the tile guy could set them, when the actual tile is put in).
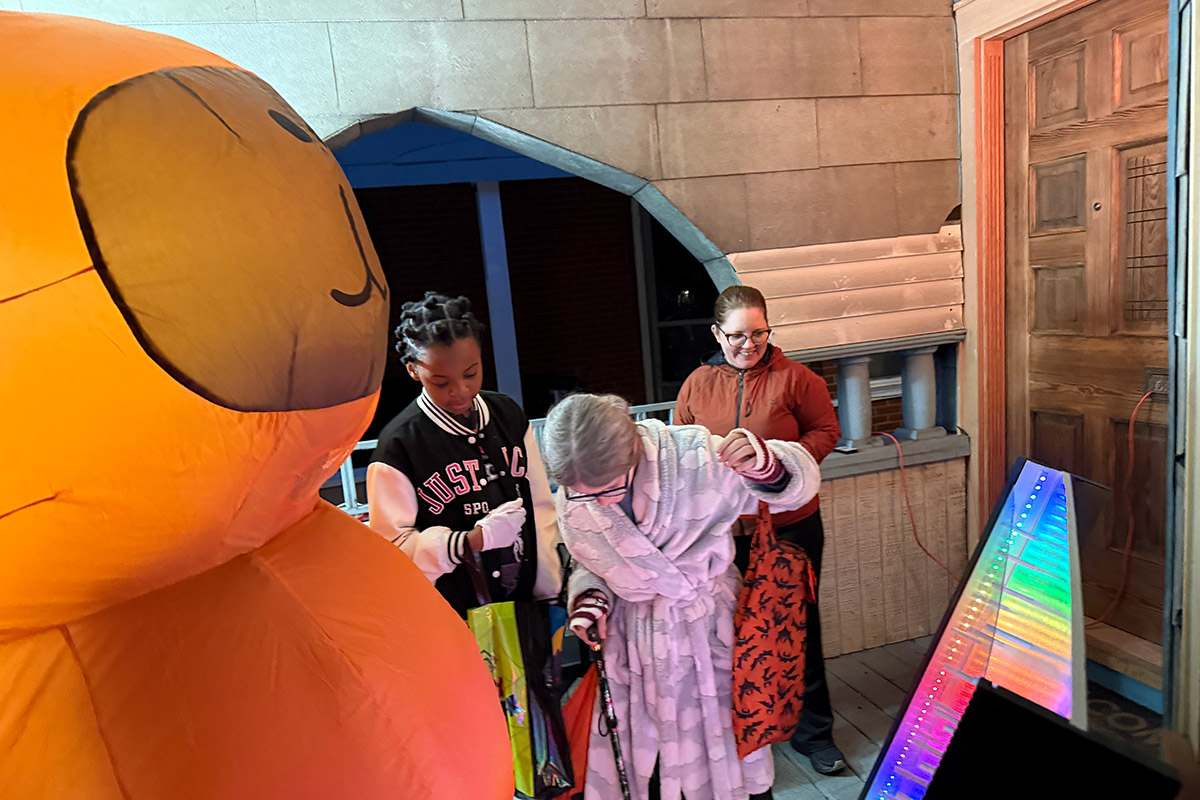
We were pretty busy all night, with a constant stream of kids. This was one of the few moments where I stopped to take out my camera, and record one of the interactions.

After removing the tile, Liz went about cleaning the mortar off – and in doing so, had a really amazing discovery. Two in fact!