Woodworking 101 at Rebuilding Exchange, Part 3
We had a bit of an eventful morning, on Sunday. Liz woke up with a headache, and shortly after breakfast… immediately got sick. While we were out last night for Meg’s holiday party… we didn’t drink all that much.
At first, we wondered if it was a bug. Or the Ibuprofen. It was comparable to what happened over Thanksgiving, and there were some similarities to both incidents.
Our best guess now is that it’s migraine-related, as both times a pretty serious headache was involved.
Sunday morning though, all of this came about rather quickly. I was tempted to stay home with Liz, but she wanted me to head to our woodworking class. It’s a limited, 4-week event… and missing one session is a pretty significant number. So I headed off while Liz rested up at home.
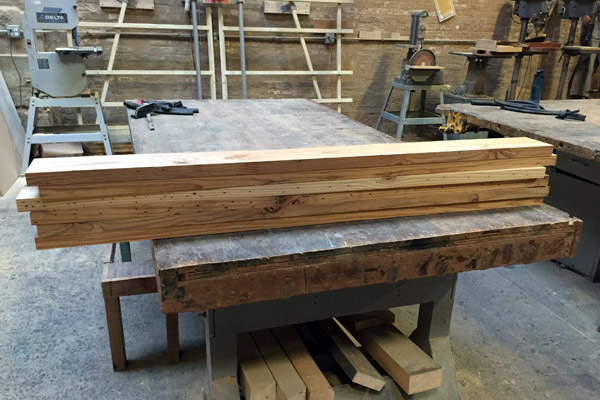
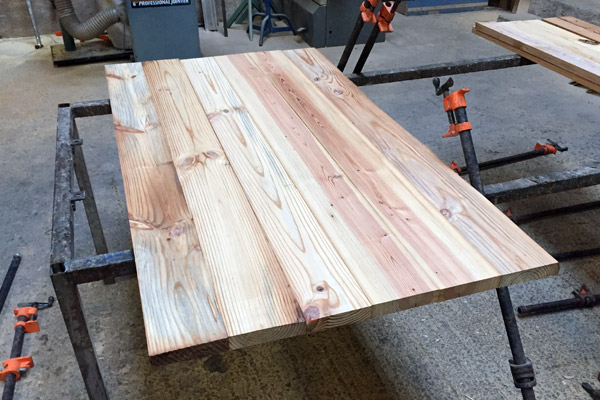
With the faces jointed and planed, my next step was to use the jointer on one of the sides. I was under the assumption that I would be using the jointer for both sides… but we ended up just jointing one side. And then using the table saw to take care of the other.
Picture above: the jointed side.
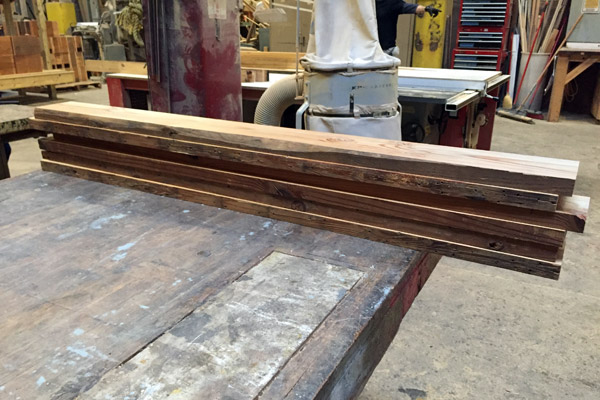
And this would be the rough and untouched side.
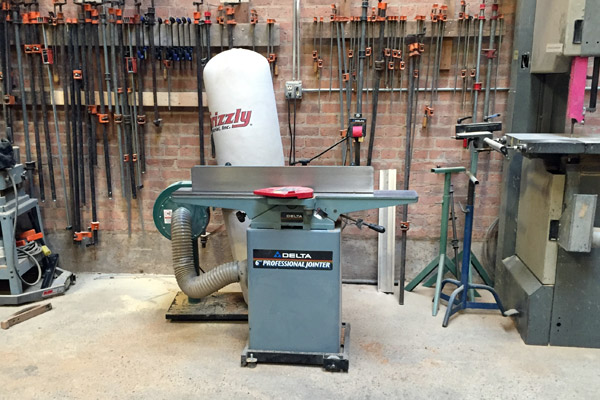
This is the jointer that I used (the smaller of the two in the workshop)
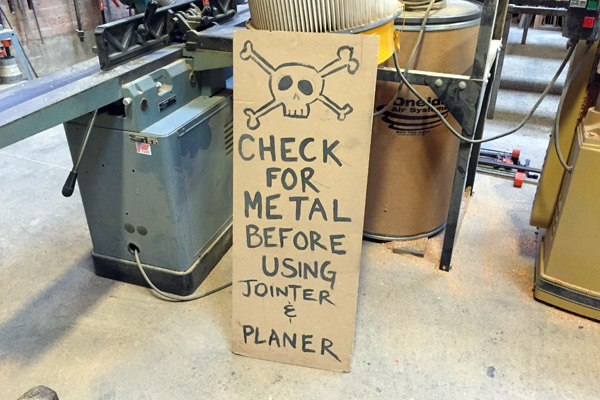
Always check for metal!
The tablesaw is not part of this course, so it was the one tool we could not use. Instead, the instructor (Erin) cut the other sides for me.
Here, I’m laying out my pieces side by side – also ensuring that the direction of the grain alternates (to prevent bowing).

Getting some clamps roughed in place. We were taught to set up the clamps first, prior to the gluing process… and to place them to one side. That way, we could quickly affix each clamp without wasting much time (and before the glue made things too difficult).
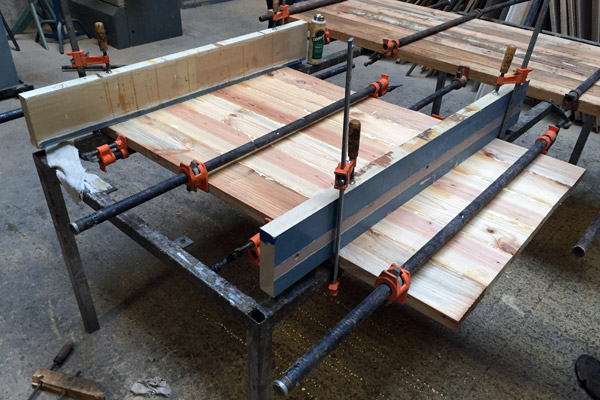
The boards, glued and clamped down. Honestly, Erin did most of the work here – and I mostly assisted and watched. With larger sized projects like this, it seems that you need to work fairly quickly. Had it just been me trying to adjust things – I have a feeling the boards would have come out pretty uneven.
Towards the last few clamps, the wood was getting tough to work with. So I’m glad Erin was around to help with this. Ever since, I’ve been thinking that I just need more practice spreading the glue and (quickly) clamping pieces together.
Even the basics of spreading glue around – Erin was moving like lightning, and I barely got done with 1/2 a side. Had we waited for me to finish things… I’m positive things would not have turned out that well.
While I look forward to working on bigger projects in the future… I definintely think I need a lot more practice with smaller pieces.
On using the jointer for the sides – I got a better feel for what was happening. I could hear (and feel) the wood going through the machine. Perhaps this had more to do with the surface area, and me working on a side versus a face. But I “knew” when the wood was done, much more so with the side than during the previous sessions. Which was a nice feeling.
Related:
Woodworking 101 at Rebuilding Exchange
Woodworking 101 at Rebuilding Exchange, Part 2
This Post Has 0 Comments