Floorboards and Custom Cuts

We’ve got a bit of work to do in the main bedroom. There’s a light in the dining room (on the first floor) that we want to relocate, and the easiest way to do that is to go through the floor from up here.
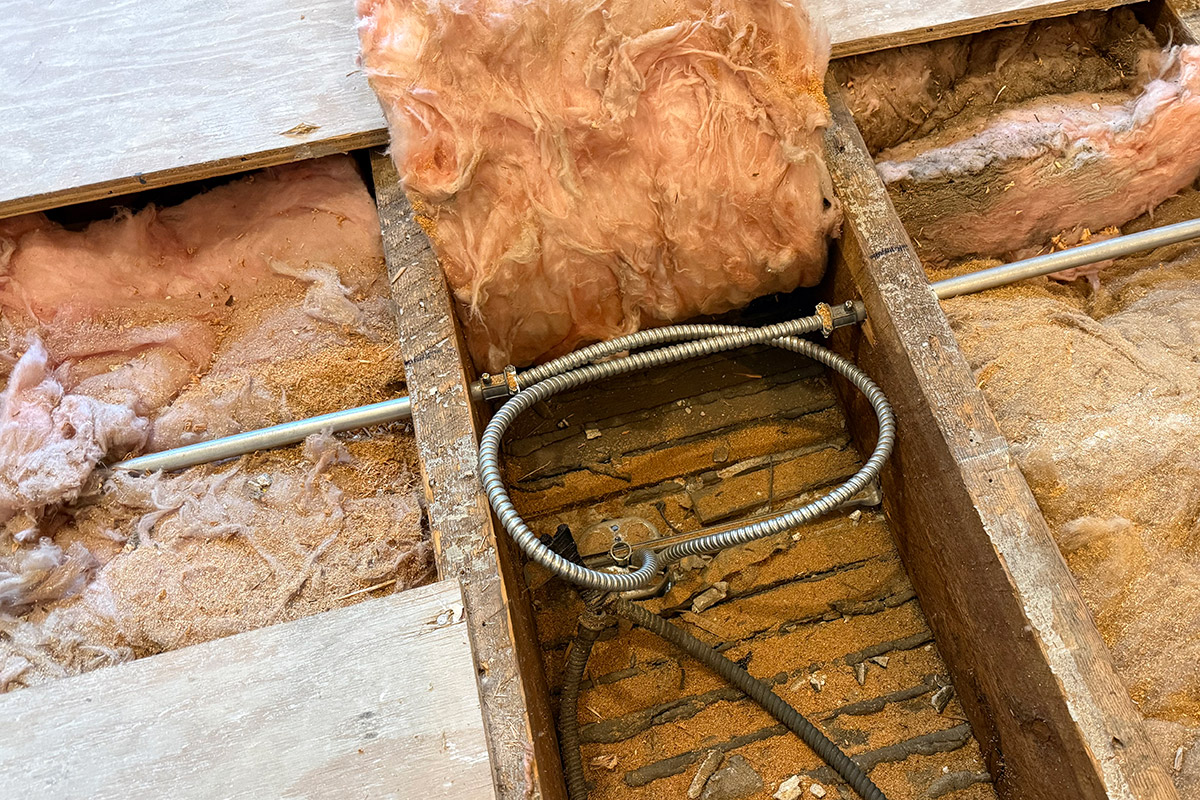
So to do that, we wanted to open up the area where the light is located. We tried previously, but opted to open a bigger section to make it easier to access.
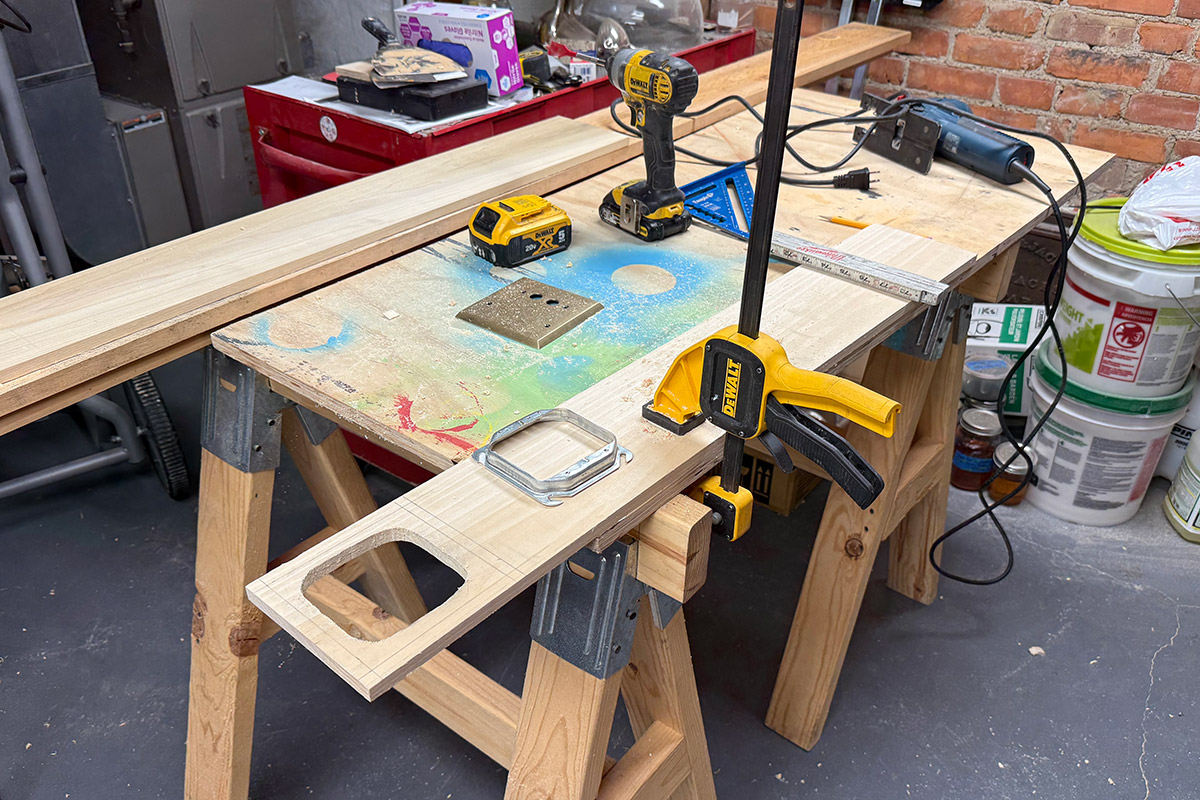
Liz was working in the bedroom upstairs, while I was in the basement… trying to create a rudimentary floor box, for an outlet we wanted to put in the new office.
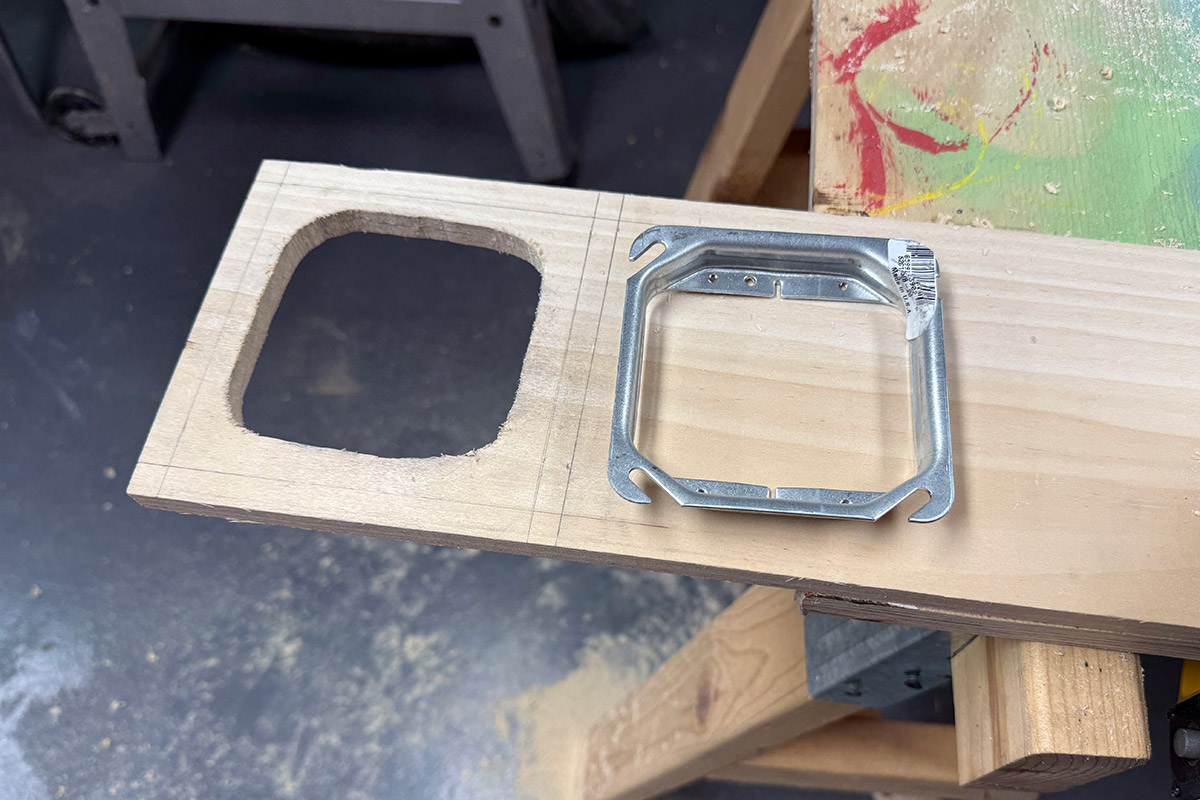
It’s not pretty, but I got it (mostly) done.
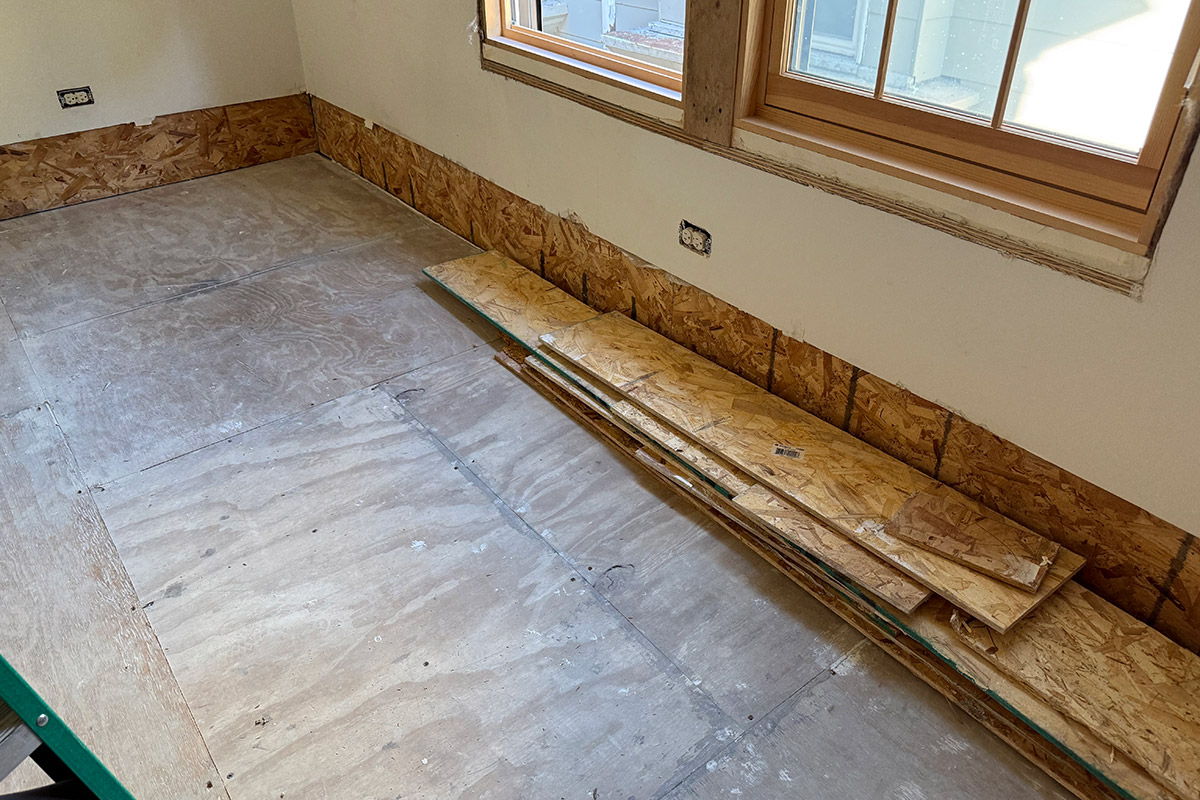
Upstairs – Liz was hard at work, removing a layer of the backerboard that was all along the base of the room.
Our original idea was to have this plywood serve as a solid, so that we could install trim easier (without needing to align exactly on each stud). But our original approach left the drywall and the backerboard at different depths.
To get around this, we’ve removed the first layer of plywood. And our plan is to have our drywall guy replace this area with normal drywall – making it easier to make everything flush.
A long night of work, with Liz upstairs and me downstairs. A lot of things broke right, and it ended up being less work than I had anticipated.
Related:
Upstairs Drywall, Day 5: Sanding, Primer
Upstairs Drywall, Day 3: Taping, Mudding, Bedroom Relocation, and the Opening of a New Room
Open Floor Plan
Master Bedroom: Cleanup, Part 2
Master Bedroom: Cleanup, Part 1
This Post Has 0 Comments